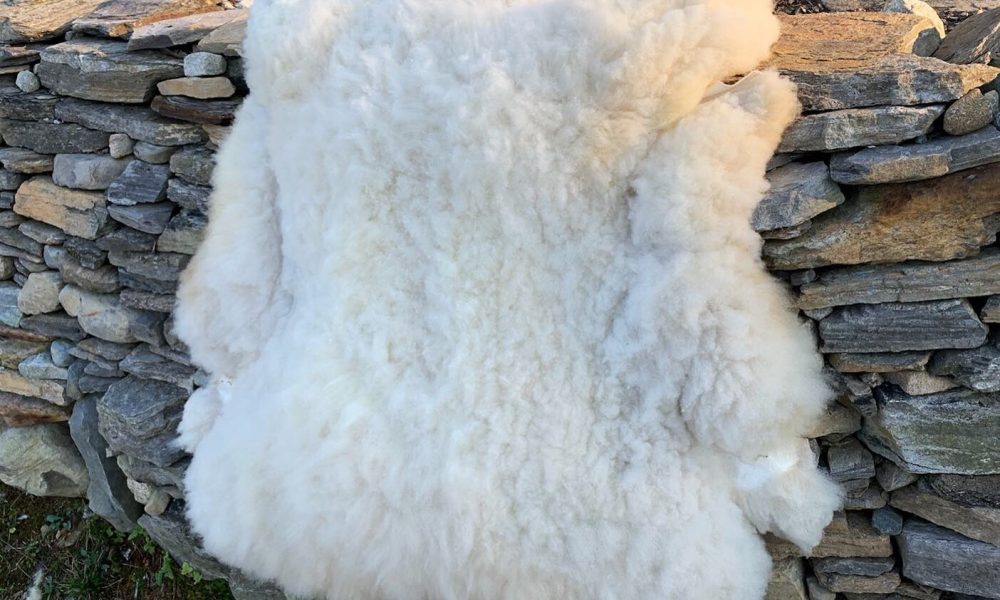
By: Salt & Stone Bear

This article was first printed in our very first issue of The Beartaria Times Magazine, Origins, A Revealing of Legends
More and more folks are learning how to keep and butcher their own animals, so comes the need to learn how to tan hides. Tanning used to be a very common skill that has since been forgotten with modern textiles. Fabrics printed in China contain some nasty chemicals and the environmental impact is devastating. Buckskin pants were once as common as blue cotton jeans today, worn by people of all socioeconomic status. Currently, it is estimated that roughly 6 million deer are harvested annually and only a very small percentage of hides are ever used to make leather. Now add the endless numbers of sheep, goats, cow and even pig skin that could be used for a variety of applications. If you do not keep animals, not to worry, contact your local butcher and they will likely tell you to help yourself to whatever they have. It’s a favor to them as they do not have to pay to dispose of them.
Disclaimer: there are lots of ways to tan, this is just how I do it, which would be called fat tanning or brain tanning. I do not like using chemicals, as they are unhealthy for the tanner, environment and less sustainable.
- Skinning
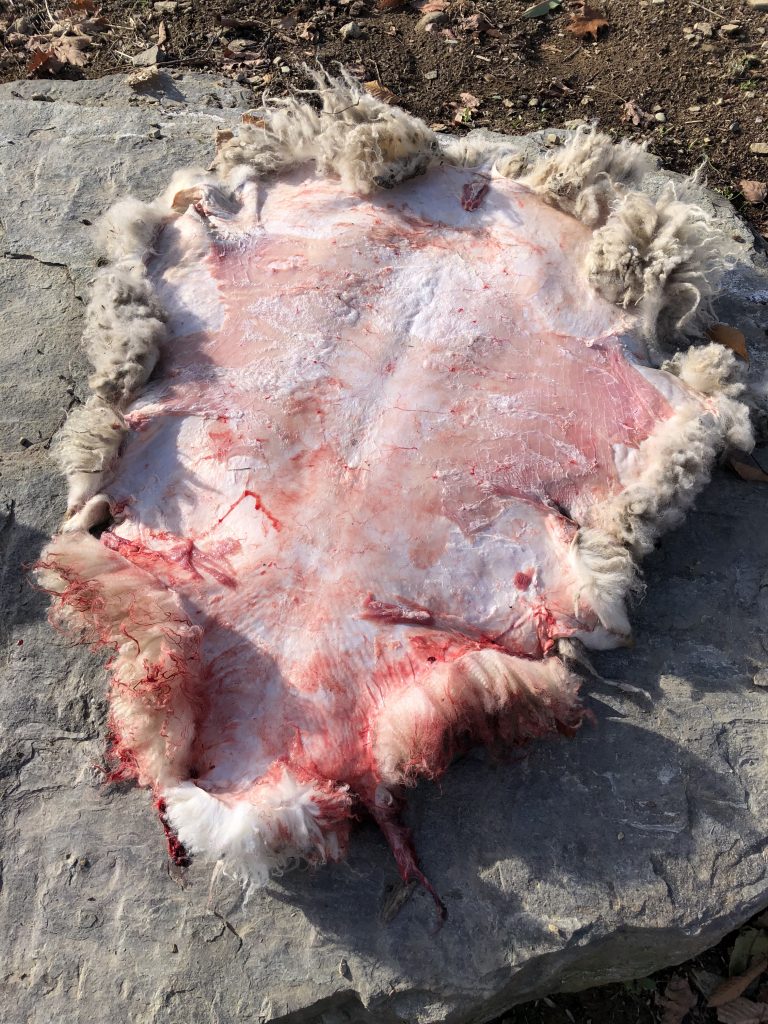
If you are starting with a whole animal, there are plenty of online tutorials on how to do this. Mainly you just want to make sure the hide has not been “knifed up” which will leave marks on the leather. The ultimate goal being no holes or knife marks in the skin, as it will be more difficult (but not impossible) in the tanning process.
- Salting
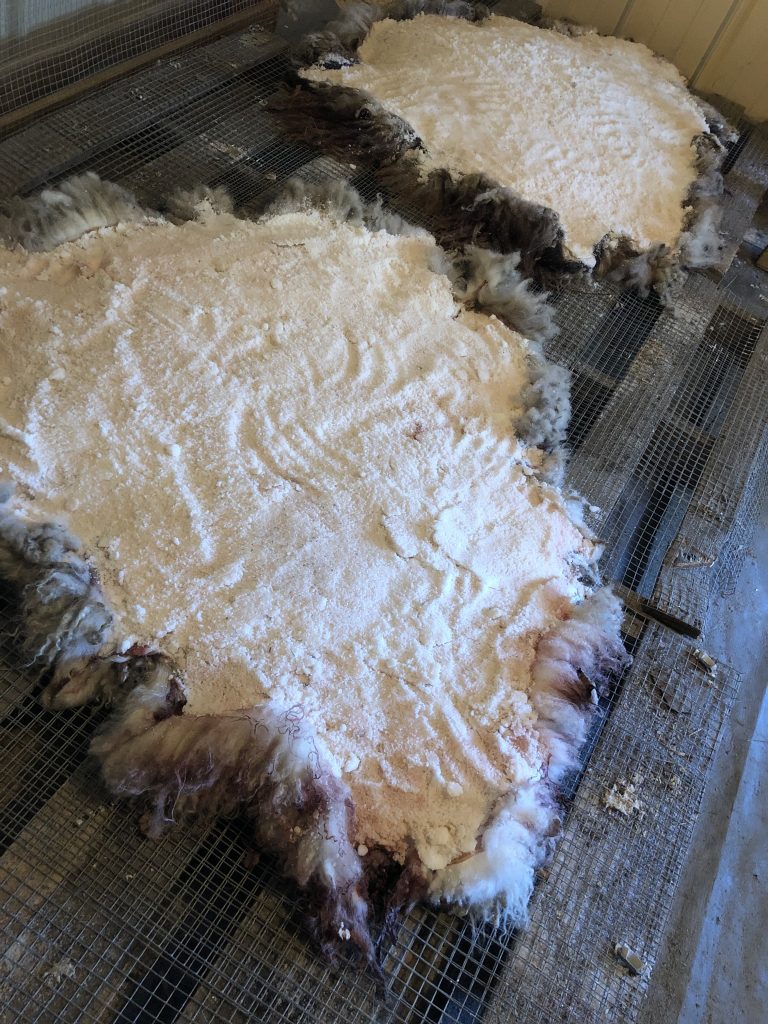
I use pallets that have hardware cloth stapled on them so that when the hide is laid out, there are no sagging or drooping parts as there are big gaps in a pallet. You could just lay it out on a tarp, but I think the air flow under the skin is helpful. Once the hide is laid out flat on the pallet, spread a good layer, about an inch of white canning salt or sea salt (no iodine) on all parts of the hide, being careful to get all the edges. Leave for 2 weeks or up to a few months if you don’t have the time. I prefer wet salting (the salt stays damp) to dry salting as it makes a nicer finished product. But if you live in a very dry climate that dries out the salt, it will still be fine.
- Fleshing
For this step, you will need to have a fleshing beam and fleshing knife. You can purchase them from a trapping outlet online or make a beam out of a very smooth log. Flip the salt from the hide into a rubbermaid tub or barrel as it can be used again. Then give the hide a good shake in the driveway or woods (probably not your lawn as it can kill the grass) to remove excess salt. I highly recommend watching a YouTube video on how to do this. You want to hit the right angle so you don’t cut the skin.
- Apply tanning solution
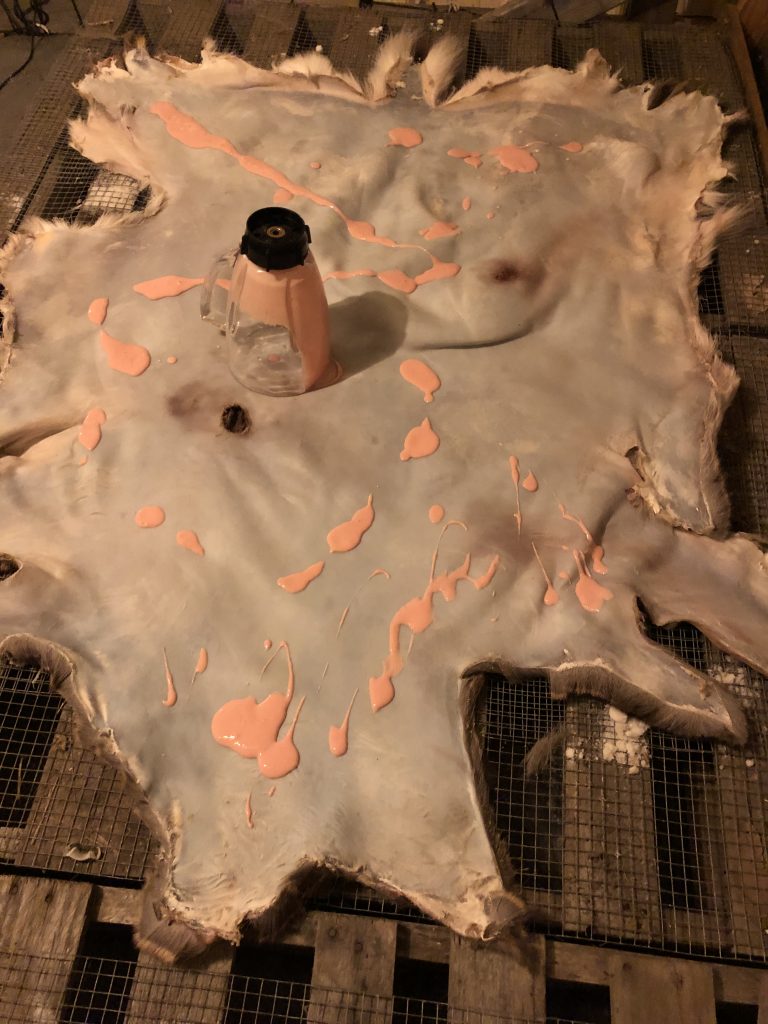
Once the hide is fleshed, lay the skin back on the pallet and apply the tanning solution. I like a brain/egg solution, but you can use just brains or just eggs. Or even Spinal cord fat/fluid. One brain will do one hide, but adding an egg and a splash of water will bulk up the solution, which I find to be very helpful. For a single hide, in a designated blender, combine brain(s), one egg and a tablespoon or two of water. Rub in the solution over all parts of the skin. Then, three options- cover with plastic wrap/ fold in half on itself or sandwich together with another hide if you are doing more than one. Allow to sit overnight- one day.

- Stretching & Drying
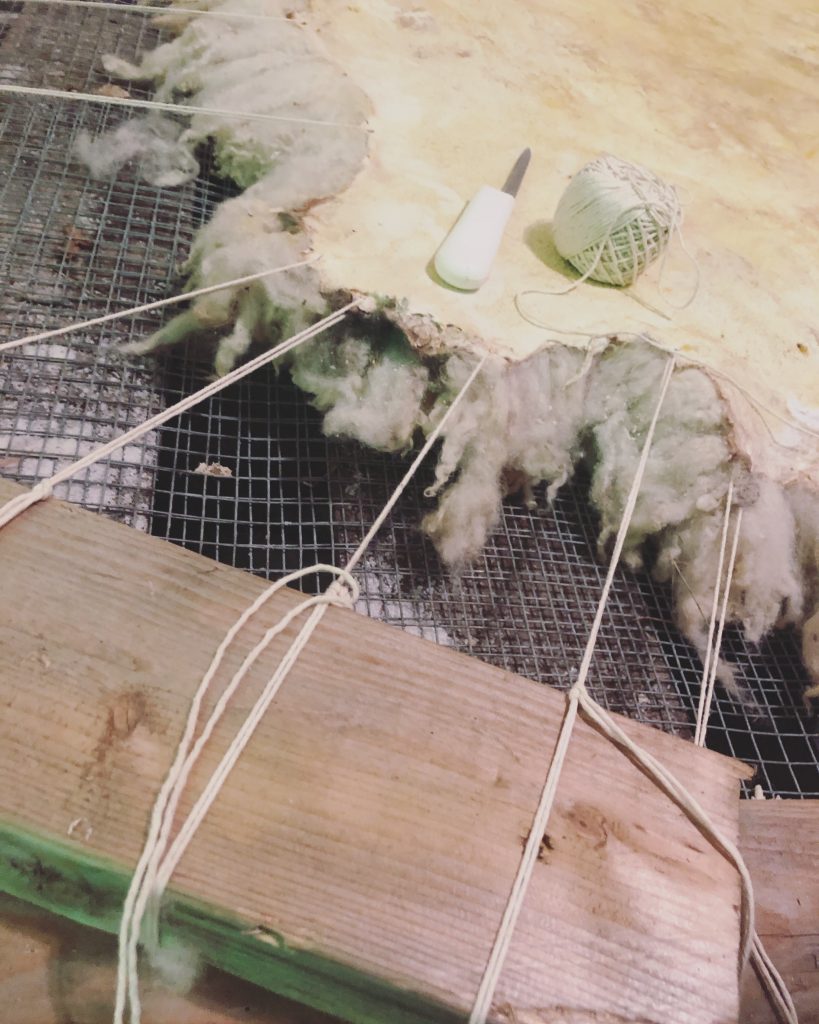
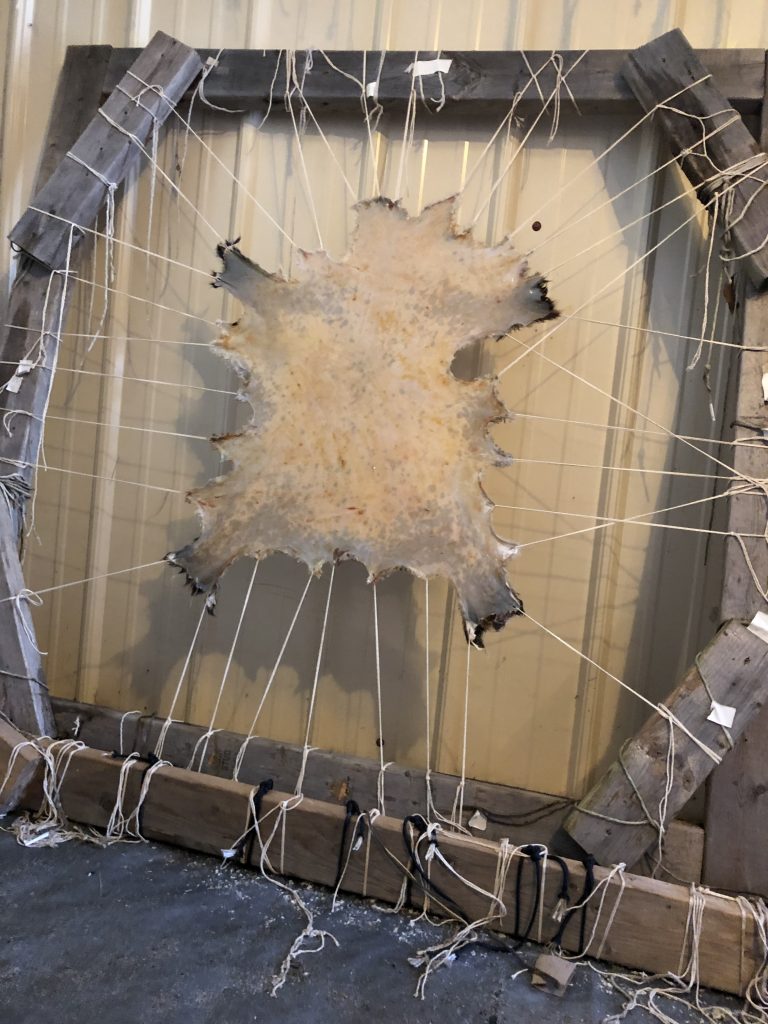
You will need to build a frame that is a little larger than the hide you are working with. 2x4s are great for this. If you are doing something very small like a squirrel or rabbit, you can use a board with tacks to achieve the same results. Some will also bend a limb into a circle for a very small hide, or if you are doing a very large hide like a moose or cow, an old trampoline frame is great. You just have to innovate with what you have available. With a very sharp knife, carefully puncture the edge, 1/2” or so in on the skin. You don’t want it too close to the edge or the twine will rip out. I really like to use butcher’s twine as it holds a good knot. Start at the 4 corners of the hide, then fill in-between. Give a good pull on the string, but not too hard, stretching the skin very flat. Tie to the frame. You can go back and re-tighten the strings that become loose as you go along. Allow to dry. A dehumidifier is really great in helping this process along, especially for large hides.
- Scrape
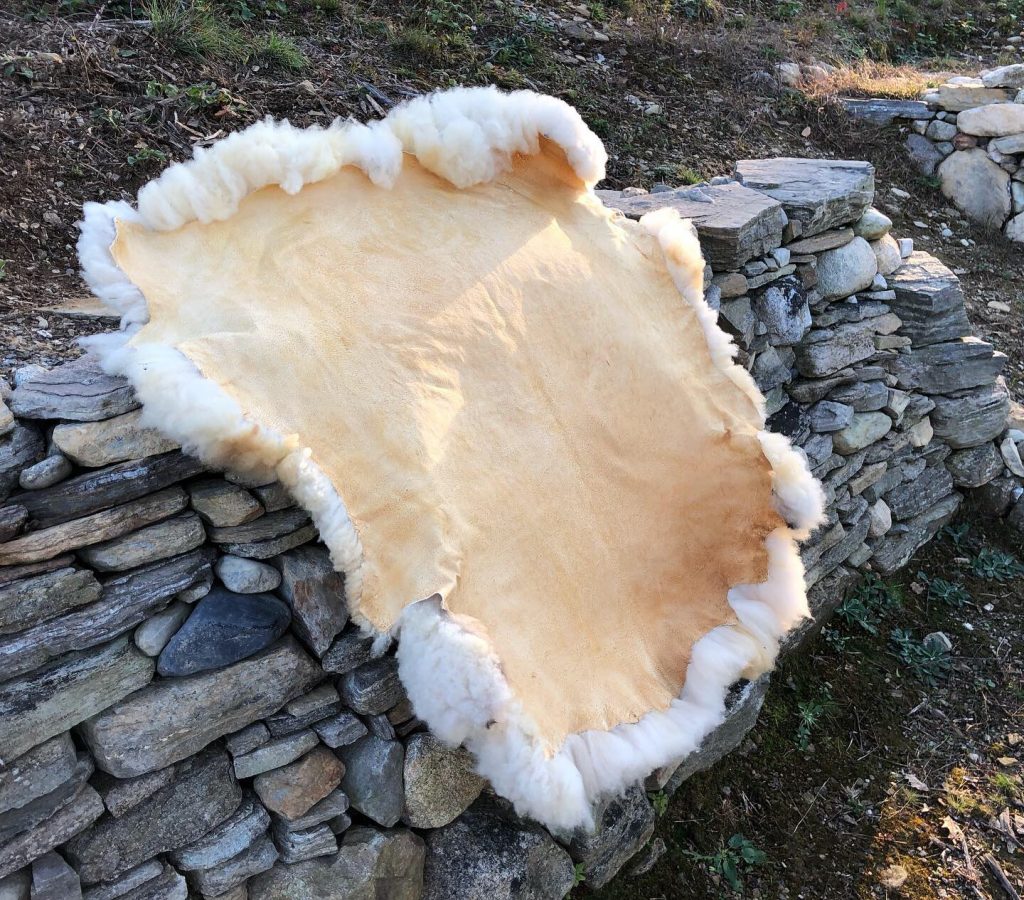
Once the hide is completely dry to the touch, you can start scraping off the tanning solution and the layer of skin. You will need a scraping tool from a trapping outlet or you can sometimes find tools to do this at antique shops. Just nothing too sharp, more blunt. Scrape with good force, but not too hard. The skin will turn a beautiful white as you do this. It takes time. I like to give a good push on the hide with my hand as I scrape to aid in softening and stretching those skin fibers. You will know you are done when the leather is very soft. Cut the strings and remove from the frame.
- Smoking
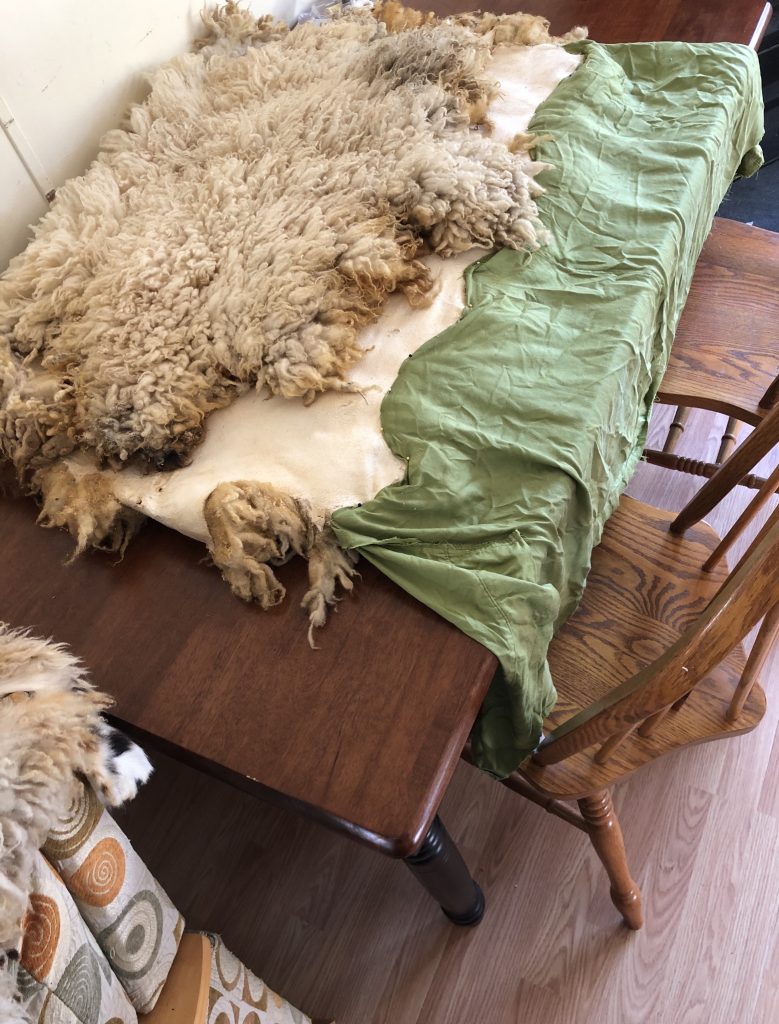
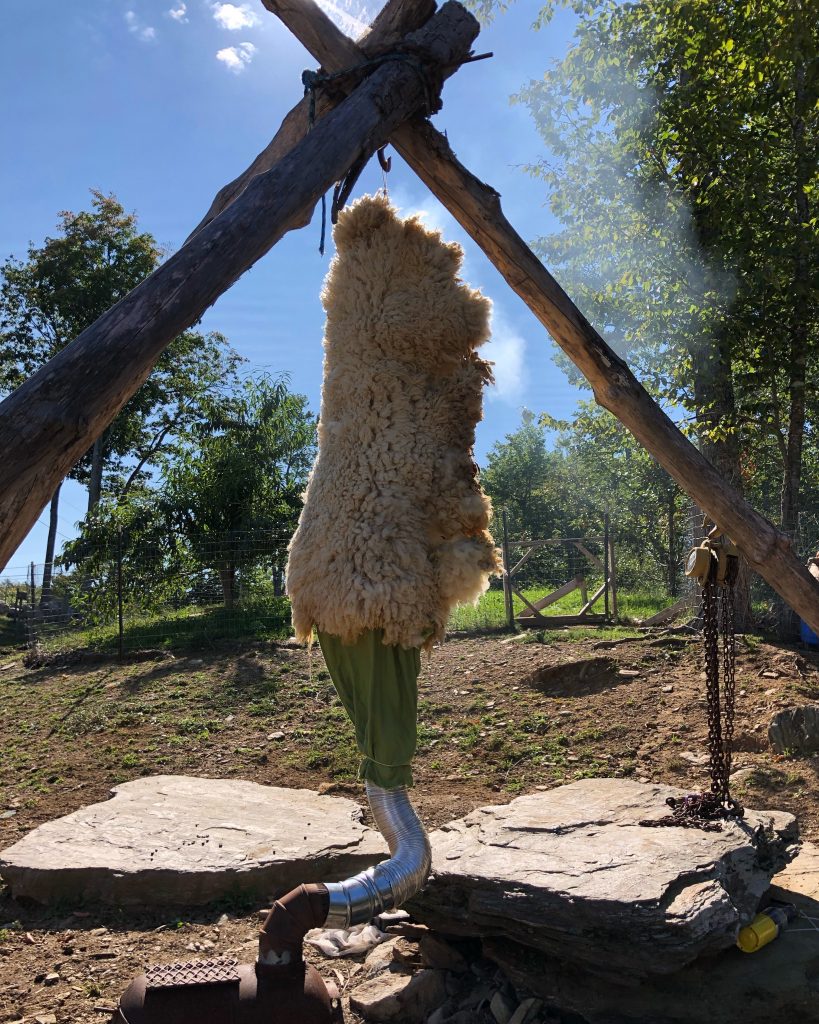
This is where tannins from wood and bark seal and finish the hide. Cut an old pillowcase in half long ways or some kind of fabric and pin on the bottom/ very edge of your hide. Then fold the hide in half long ways and use the existing holes and butcher’s twine to temporarily sew it together. Make a loop at the top to hang. Go back and pin together the fabric at the bottom to essentially make a stove pipe. Collect rotten wood and bark that is wet from the forest then make a fire with dry wood until it gets down to coals. Add rotten/ wet wood and bark. Attach the fabric side to your stove pipe with a rubber band and smoke for 2-4 hours. You want to be VERY careful with this part. Do not leave unattended as you only want smoke NO fire. If it breaks out into a fire, it can scorch or burn your hide. Ruining all your hard work. You want cold-warm smoke only. Periodically check the color of the skin inside, you want a nice deep amber color. Take it down, bring inside and allow it to sit for a day to more thoroughly absorb the tannins.
Then rub in a finishing sealer. Lard is really perfect or a homemade mix of Lard, tallow and a little beeswax.
- Finishing touches
At this point, you can carefully hand wash the finished hide with soap and cool water, but do not soak for too long. Try to be as speedy as possible. A designated washer is great for this stage. Run it on the spin cycle only to get the water out or shake out very well and dry.
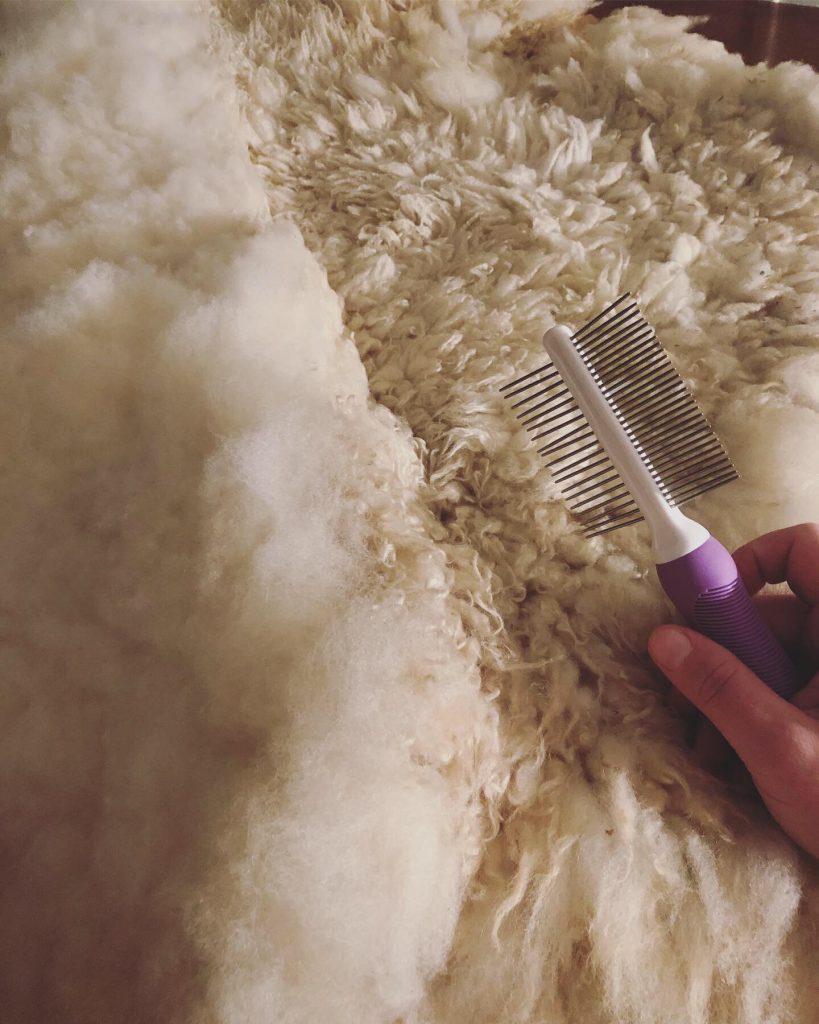
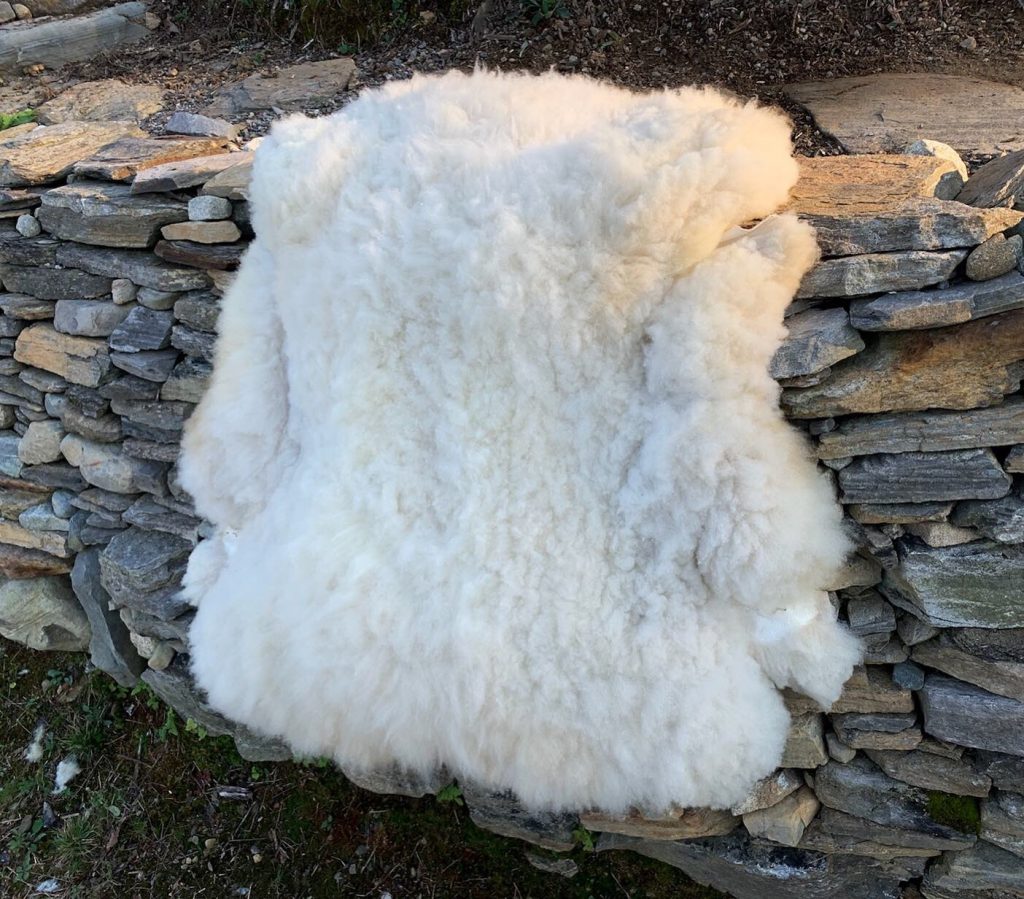
With a razor blade, cut off the edges, about where your puncture holes are. Brush out the fleece or fur. Then celebrate haha.
If you want to make leather without fur, dry scraping can be done at the point the hide is stretched on the frame. You can use a razor blade to carefully remove the fur, then scrape and apply tanning solution/ plastic wrap, similarly to how you did the other side. Scrape it down again. Smoke both sides in the same fashion.
This is an art. Learning takes time, but don’t be afraid to make mistakes. The hide is very forgiving.
If you have questions, feel free to reach me on the Beartaria Times app – Salt and Stone Bear or Instagram @salt_and.stone
Happy Tanning!
