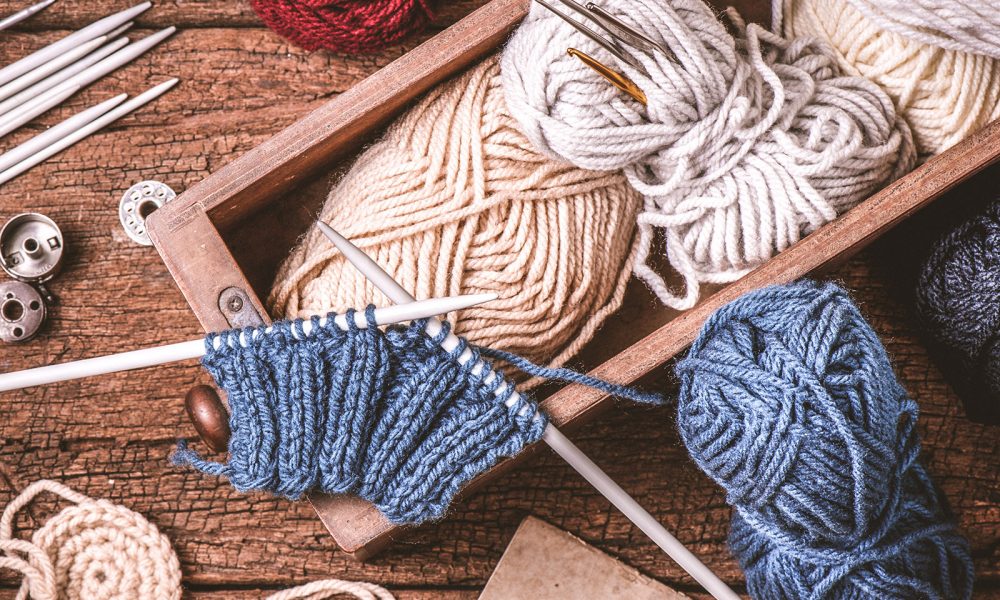
This week, Knitting Mama Bear shares part two of her professional guide on gauge.
In the last article, we learned how to make a gauge swatch and why it is important to make one for items that need to be correctly sized. This time, let’s talk about what to do if you discover that your gauge does not match the gauge called for by the pattern.
Let’s say you took your time knitting a gauge swatch using the same (or substituted) yarn and recommended needle size from the pattern. Here’s a sample gauge note:
Gauge: 35 stitches & 37 rows = 4.5″ over Feather & Fan stitch
Your swatch may not match horizontally, vertically, or both; the horizontal measurement is more important. Once you have changed needle sizes to achieve the correct horizontal gauge, you can plan ahead to adjust vertically.
Here are some scenarios you may encounter:
Scenario 1:
On your swatch, there are 39 stitches horizontally within 4.5 inches. This means your tension is tighter than the designer’s tension. To put it another way, your stitches come out smaller than the designer’s stitches, so that more of yours fit into the 4.5″ space.
To fix this, try knitting the swatch again in the next needle size up. Repeat as needed until you have the right number of stitches inside the right number of inches.
Scenario 2:
On your swatch, there are 29 stitches within 4.5 inches. This means your tension is looser than the designer’s tension. To put it another way, your stitches are larger than the designer’s, so fewer of them fit into the 4.5-inch space.
To fix this, knit the swatch again in a smaller needle size. Keep trying smaller needles until you have the correct number of stitches inside the 4.5 inches.
Before you look at the next two scenarios, you must fix Scenario 1 & 2 before proceeding to 3 & 4. Once you resolve either of these, you will have the correct number of stitches horizontally.
Scenario 3:
You have to count 40 rows to get to a height of 4.5 inches but you have the correct number of stitches horizontally. This means your stitches are shorter than the designer’s stitches.
Because you are getting the same number of stitches horizontally, this is easy to resolve. All you need to do is add a row or two to get to the correct length required to achieve the size you’re making. Only repeat rows which do not include increases or decreases to maintain the correct size in terms of width. Repeat the rows in the pattern so it doesn’t become disrupted. The easiest way to do this is to add more rows at the end of the project. Make sure you are measuring the length as you work.
Scenario 4:
You have only 34 rows in a height of 4.5 stitches but you have the correct number of stitches horizontally. This means your stitches are taller than the designer’s stitches.
Because you have the correct number of stitches horizontally, this is also easy to fix. As you work on the project, don’t work as many rows as the pattern calls for. You should skip only rows that do not include an increase or decrease to maintain the correct measurements in terms of width. Make sure you are measuring your length as you go. Again, the best way to resolve this is to skip ending rows.
Remember to fix either one or two before resolving three and four! These four fixes should cover all problems with gauge you encounter.
Important Take-Aways
- Never try to knit tighter or looser to match the pattern gauge. You have a natural tension that will reassert itself.
- Always make a gauge swatch. Don’t skip this step for patterns that should be appropriately sized. Keep repeating the swatch until you have found the right needle size to yield a matching gauge (you can reuse the yarn again and again until you get it right).
- Always knit your swatch at least 3 additional stitches and rows wider and taller than the pattern requires. This will improve the accuracy of your measurements.
- Never measure from the edge; start with a few stitches from the border to avoid distortion.
- Always work a border around the swatch. This will prevent edge distortion from throwing off your measurements. I prefer Seed Stitch because it looks the same vertically as horizontally. Bonus: if you don’t want to keep your swatch, you can repurpose it as a washcloth with a very nice border!
- If your project is worked in the round, make your gauge swatch in the round too. Make it larger than it needs to be, cast off, and cut up the side vertically through a row of stitches so that you can lay flat to measure. Tension in the round is different from tension worked flat.
- Always use the recommended stitch pattern for your gauge. If it doesn’t suggest a stitch pattern, assume it’s Stockinette Stitch.
- If the pattern calls for the project to be blocked, block your gauge swatch before measuring.
- Always adjust your gauge to match the width before trying to adjust for height.
- Avoid swatching squares smaller than 4 inches. There is no such thing as an even stitch to 1-inch ratio. It is always better to average your tension out over a larger area.
- If you are designing your own project and are looking to figure out a gauge so that you can predict the number of stitches you will need throughout, make swatches for each stitch pattern you will use in the project. Stitch patterns are not all the same! Cables pull everything tighter and lace stretches everything larger.
- Once you have achieved the correct number of stitches within designated inches, keep your swatch! Attach the yarn label and a note explaining the pattern you were using, the gauge required by that pattern, and the needle size you used on the swatch. Add a photo of the finished work when you’re done. This will come in handy for other projects if they use similar yarn and gauge sizes or if you want to make the same project again. I keep mine in a binder.
Hopefully this information will help you grow in your skills as knitter or crocheter. If you liked this information, you can find me at yarnaddictadventures.com where I share more valuable information and free patterns.


